Aluminum Fence Rail Mounting Brackets
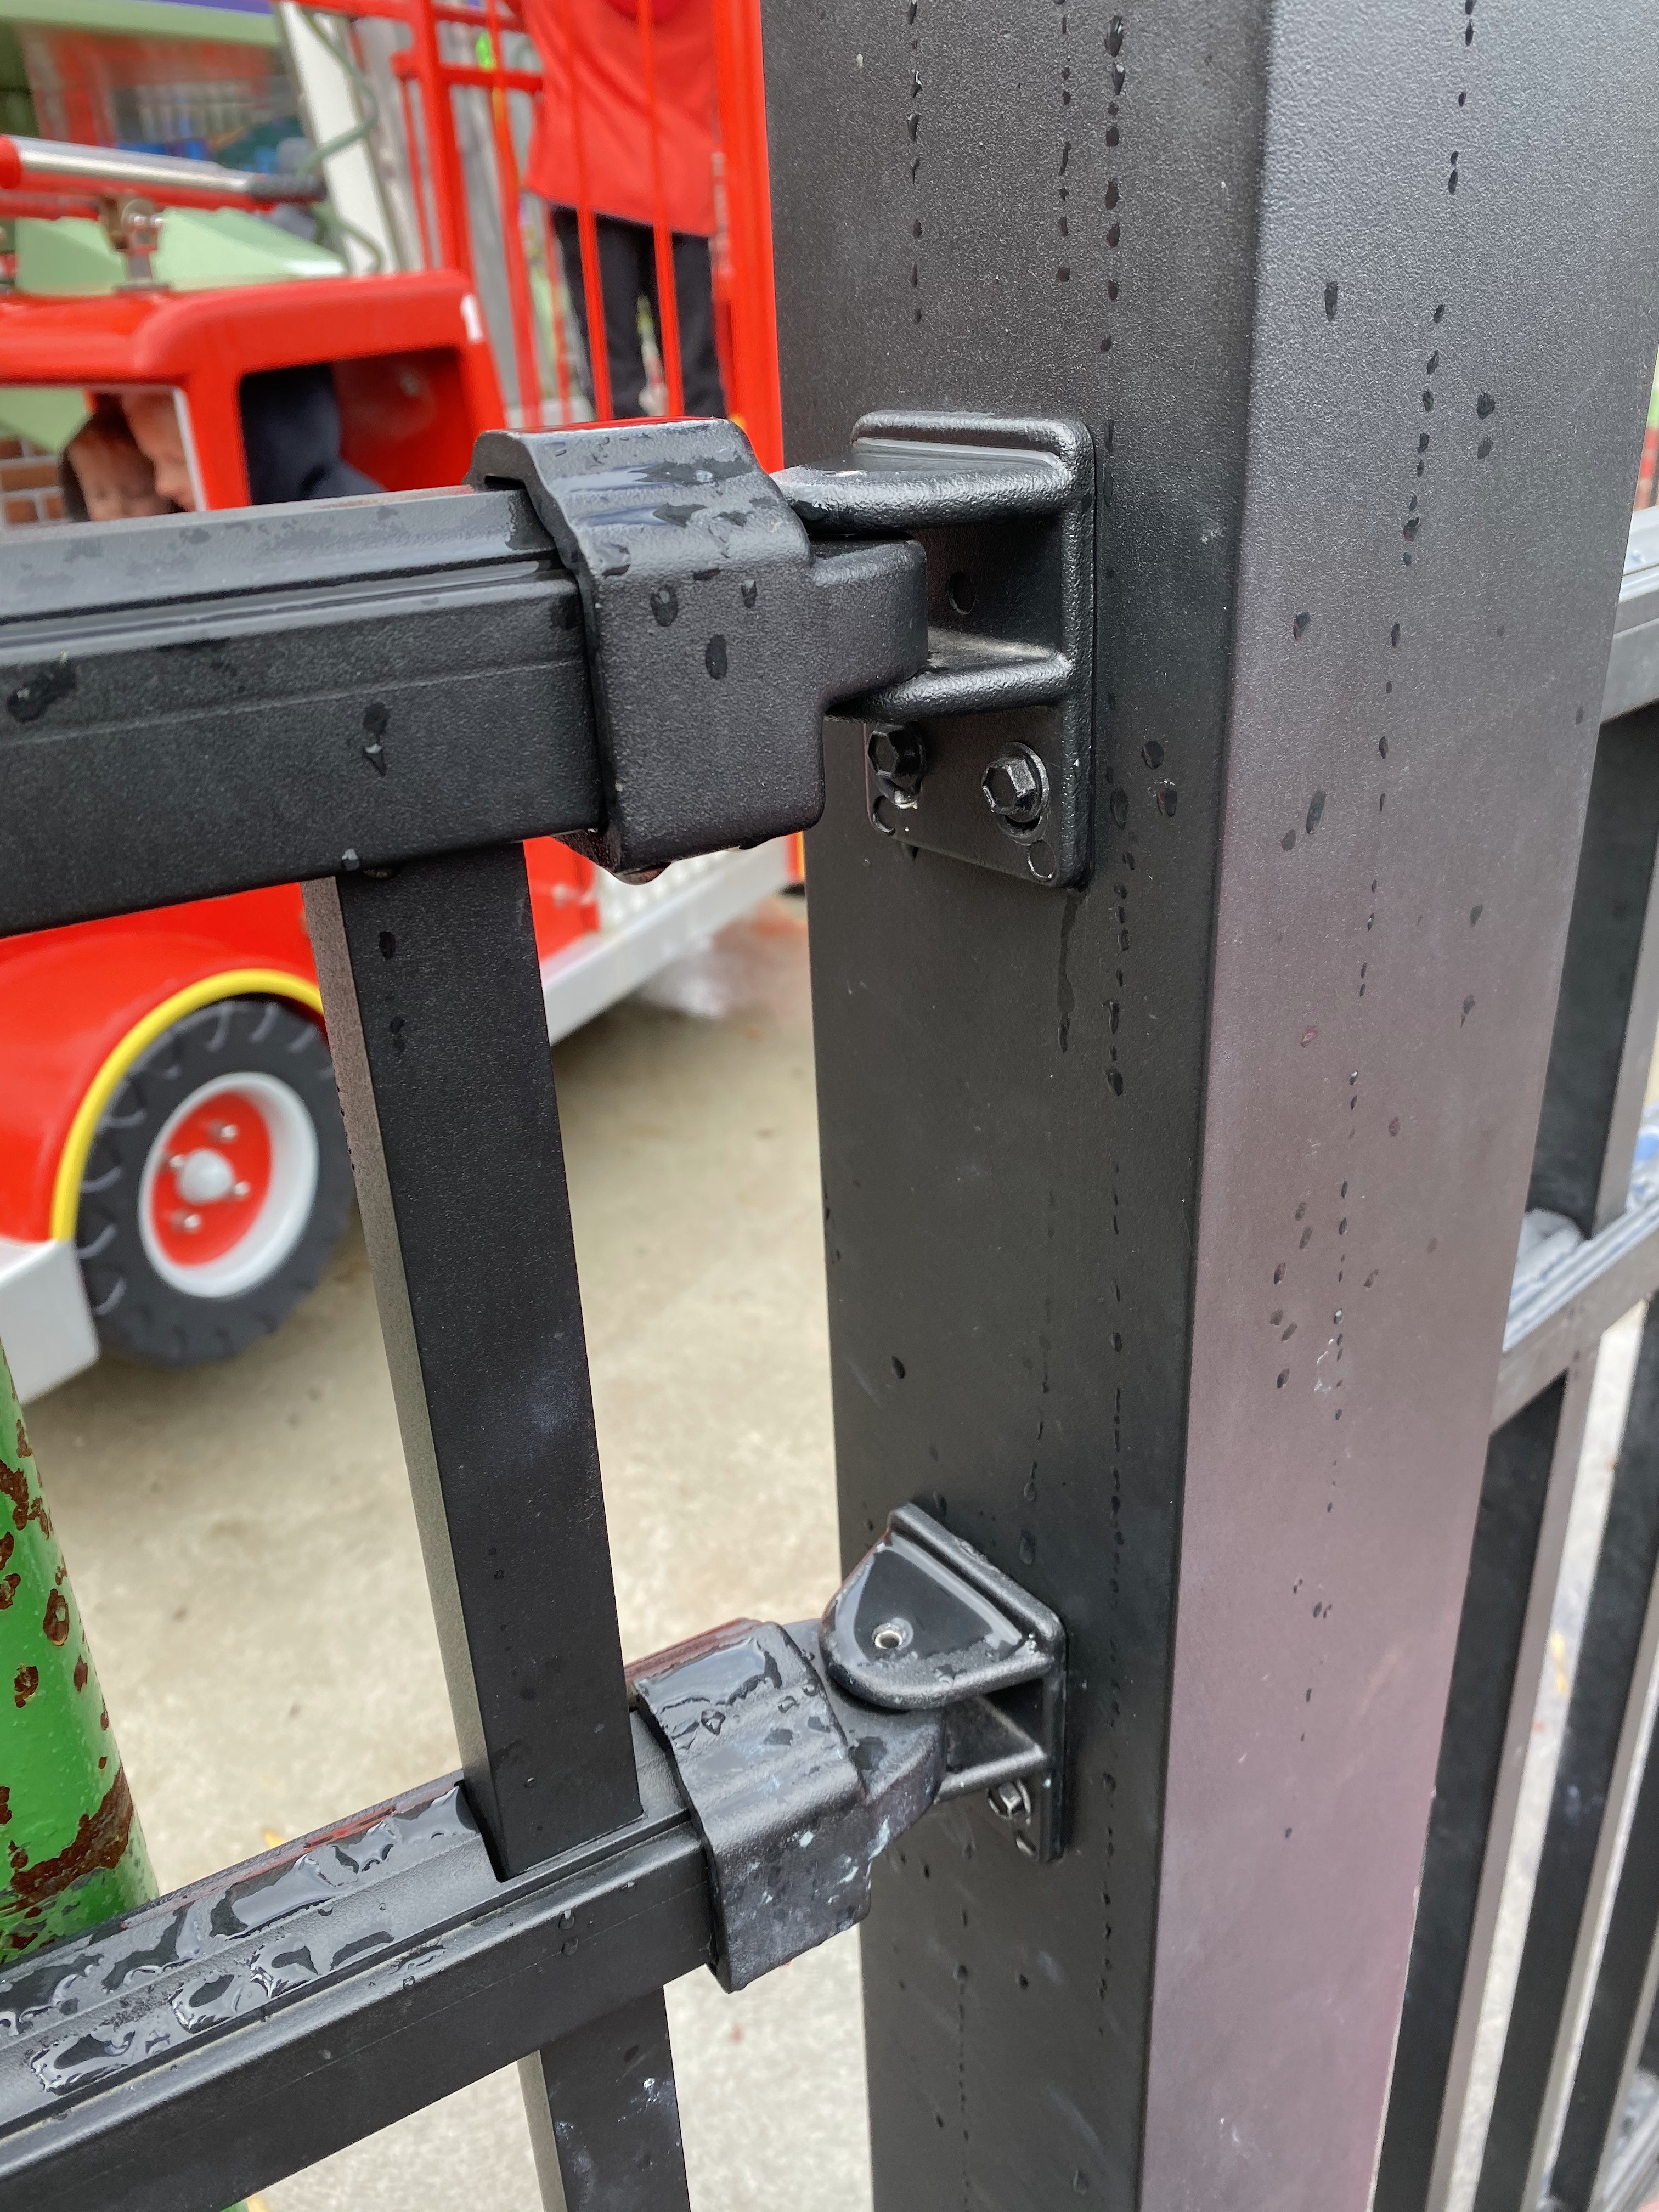
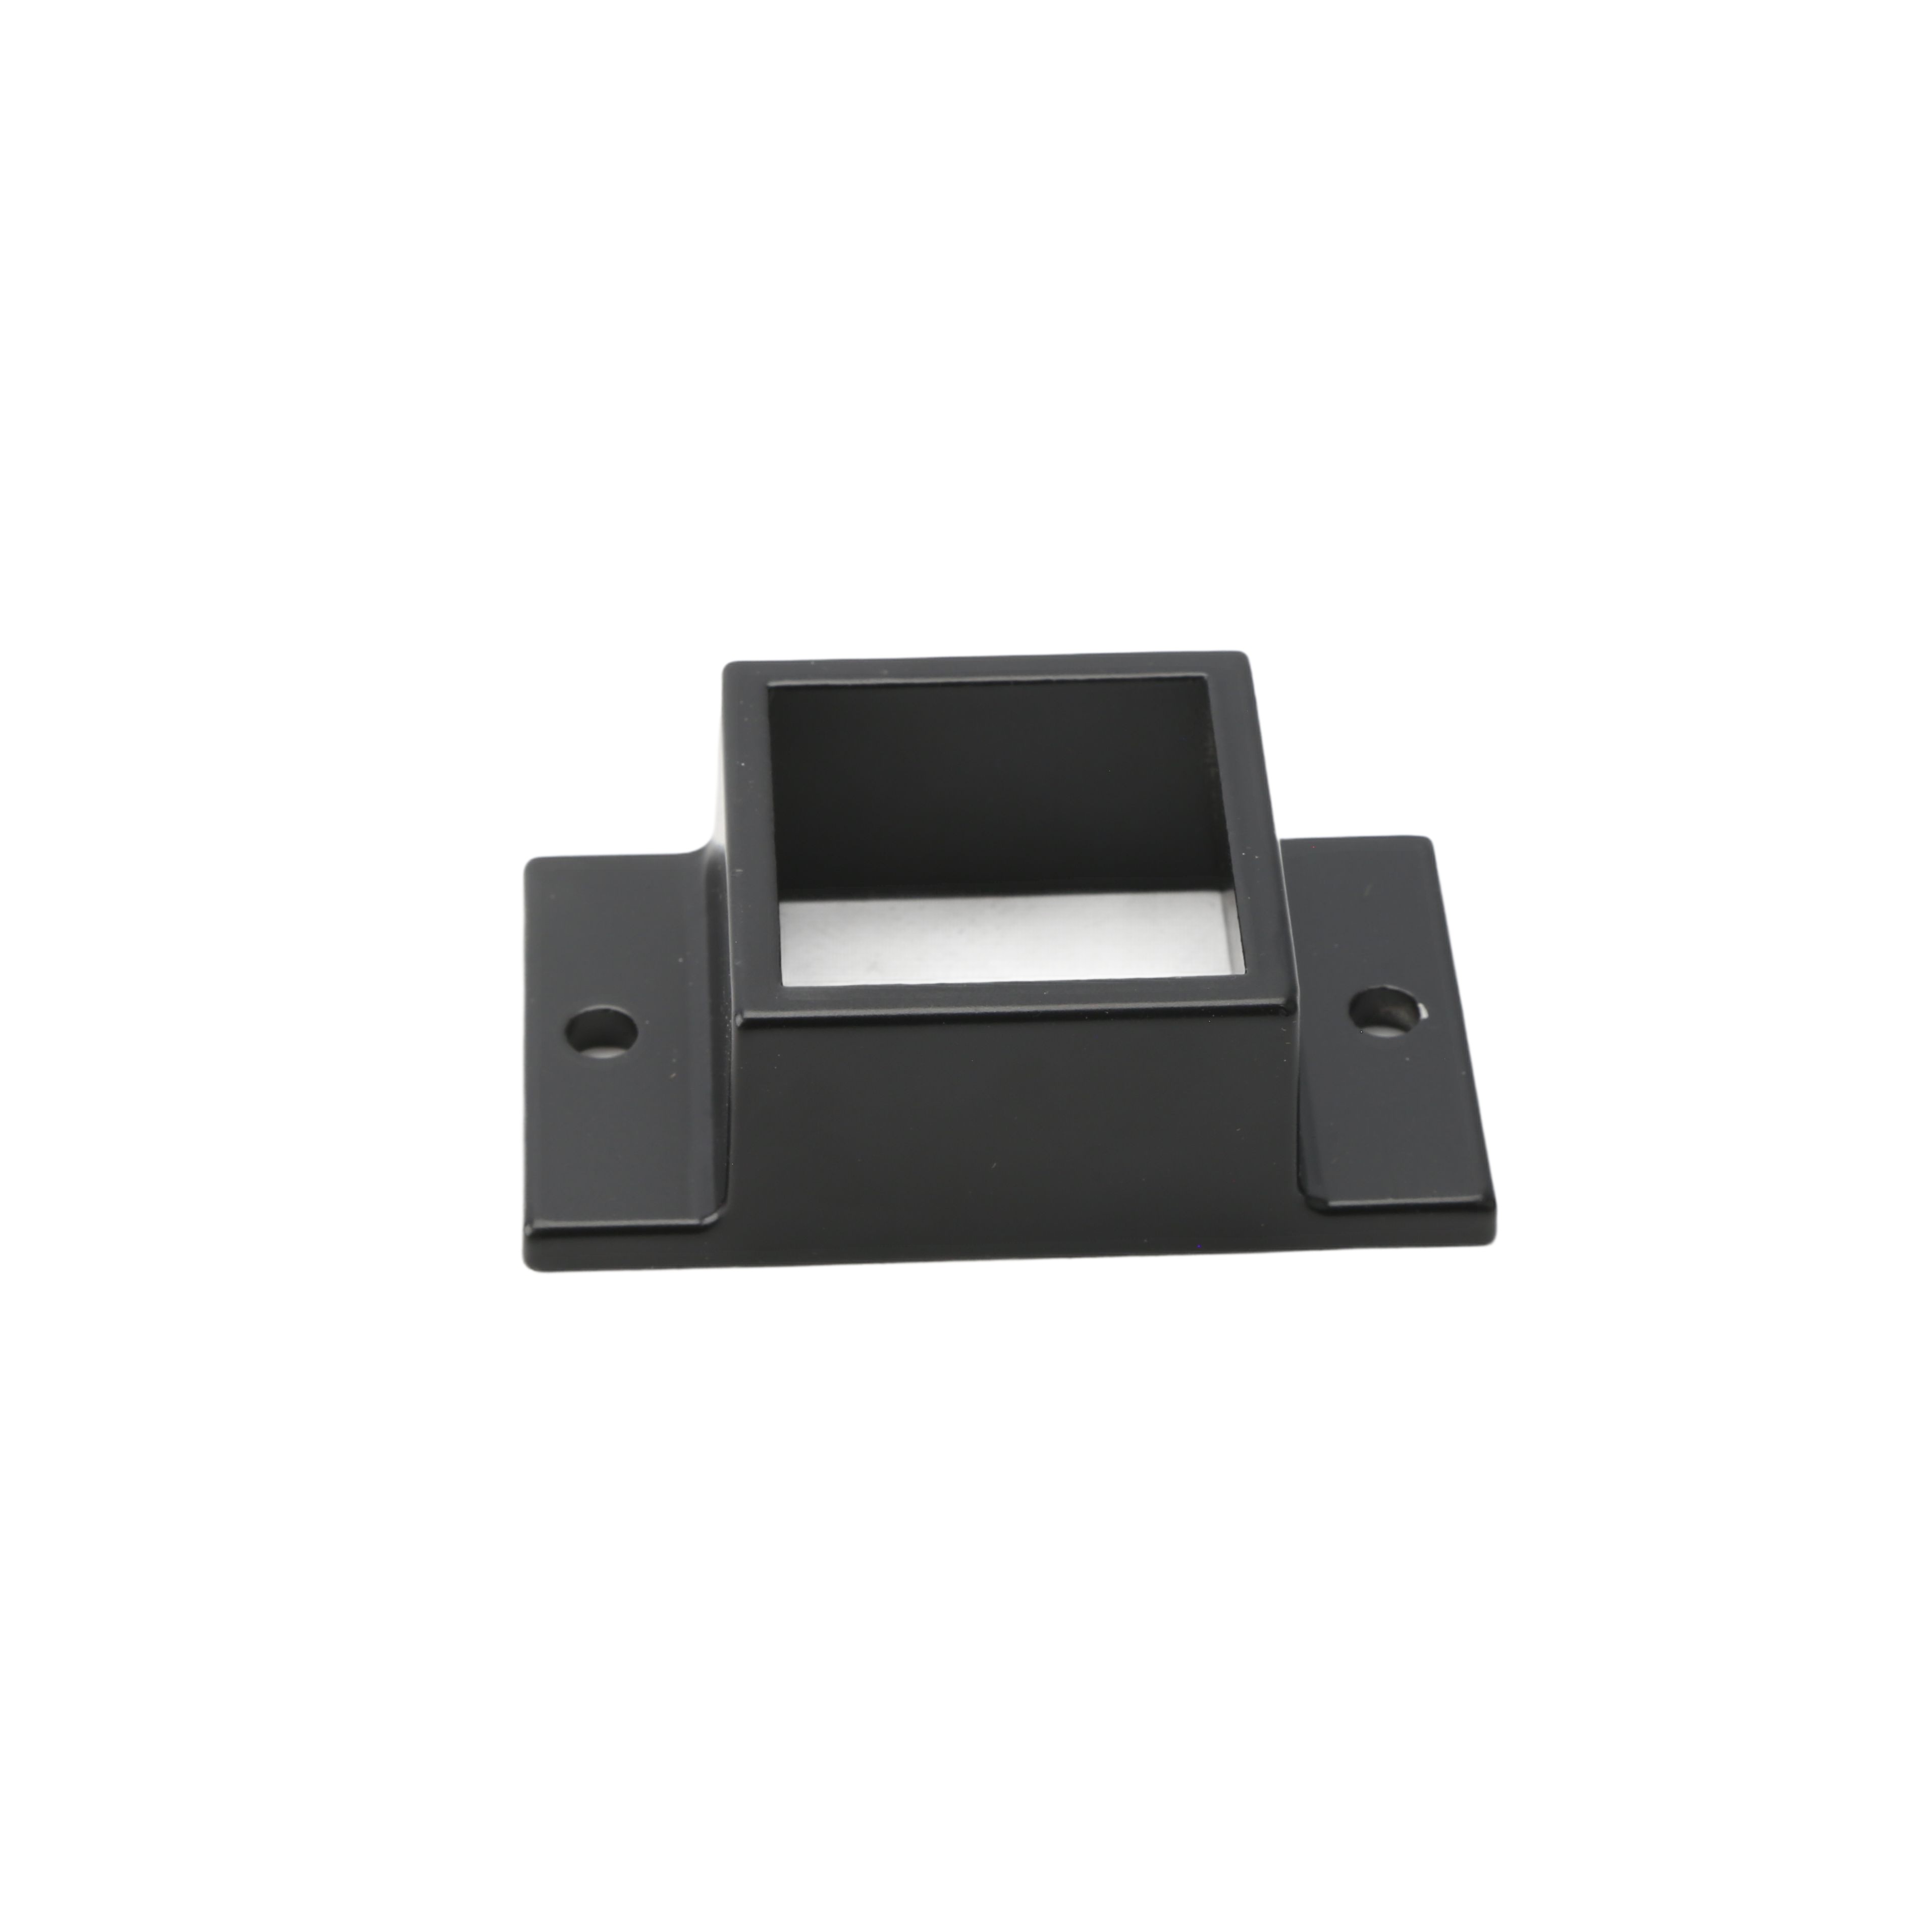
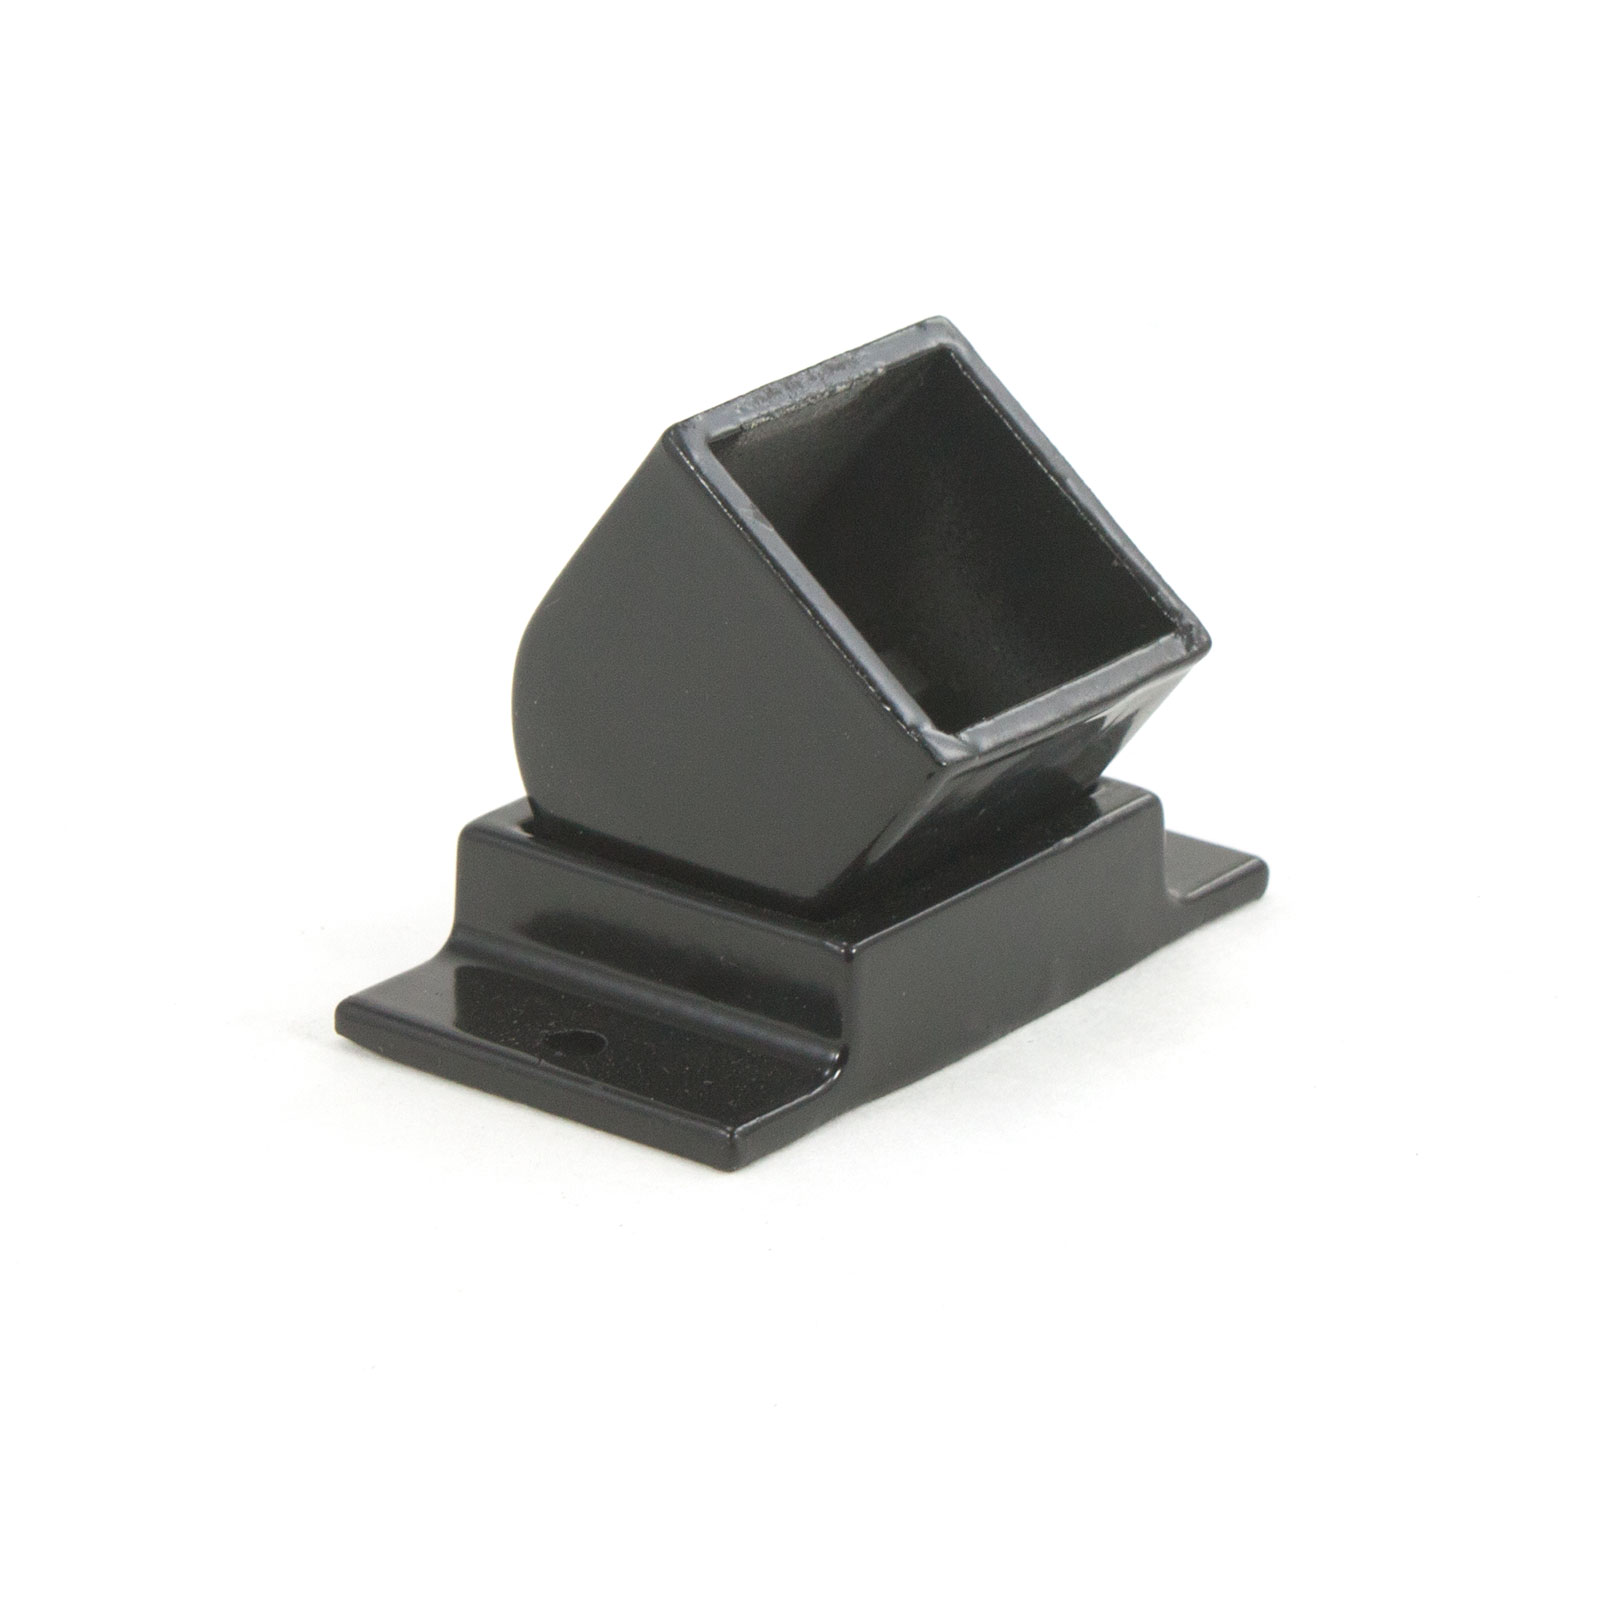
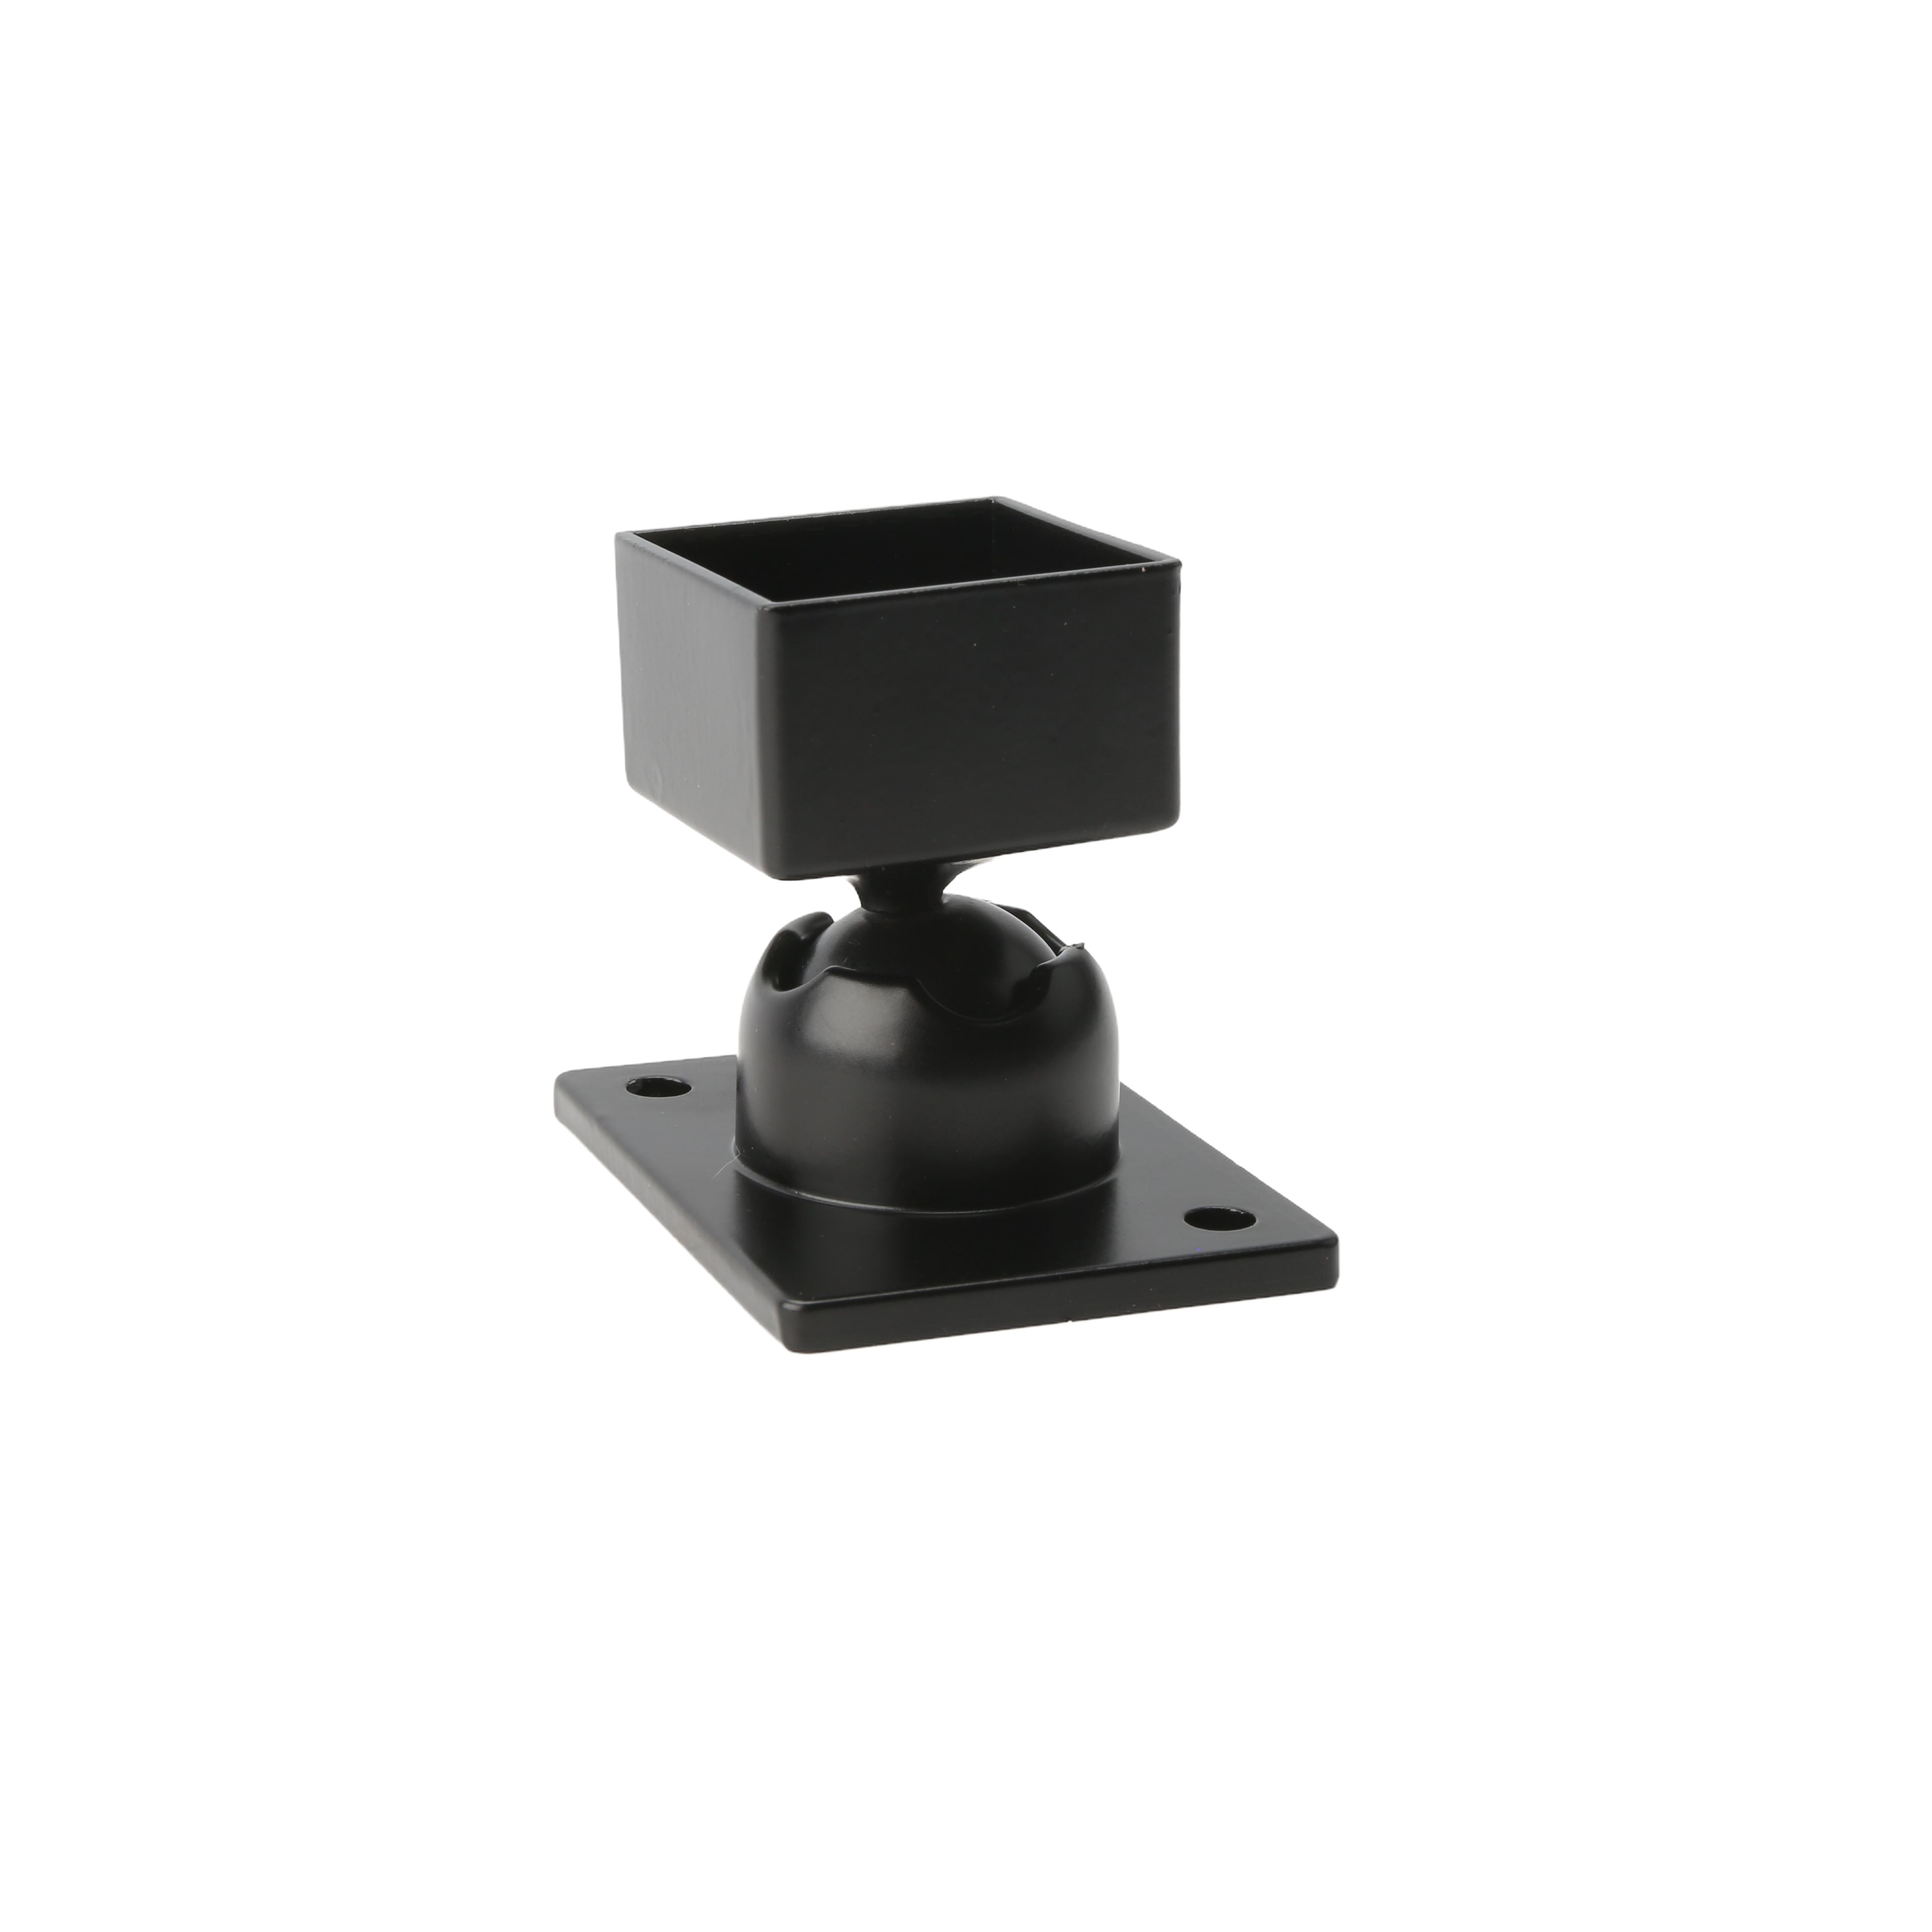
Aluminum fence brackets come in many shapes and sizes to accommodate varying elevations and angles. They are the perfect solution for affixing railings to walls, decks, or other surfaces. They can also be connected to blank fence posts. Some come swiveled which allows different angles for the fence. This is especially nice for stairs or any other sloped walkway. Other aluminum fence brackets come in a stationary position. These are for areas of the fence where there is no slope or the the fence is running parallel with the angle.
How To Install Aluminum Fence Brackets
The install method is the same whether a swivel or stationary mount is needed. Choose a swivel mount if you need to install the fence at an angle. Choose a stationary mount when the wall runs parallel to the fence. There are a few tools needed beforehand.
Tools Needed
- Screws (Type depends on wall or structure material)
- Cordless Drill
- Hammer Drill (With masonry drill bits or whichever type depending on wall material)
- Chalk
- Measuring Tape
- Level
- Section Of Fence
Step One: Plan Fence Placement
Measure twice cut once is the key here. Plan out where the fence will be mounted to the wall. Determine the fence's direction to know the angle at which the swivel mount will go. Using the measuring tape, find the center of the post or section of the wall where the bracket will need to be installed. Take the chalk or marker and mark the spot. Take a fence section with the bracket on the end and line it up on the wall. Use the level to determine the proper height of the fence and mark the spot on the wall. Now, while holding the fence section, take the level and run it vertically next to it. This will determine if the fence is plumb or not. Make sure it is plumb, then mark where the fence bracket screw holes are located on the wall.
Step Two: Drill The Holes For The Fence Bracket
Using the masonry drill bit (or whichever type best suits the material) and hammer drill, drill into the wall or structure where the screw holes go. Once done, go ahead and take the cordless drill and screw the bracket onto the fence. If the wall's texture does not allow the bracket to sit flush, take a sander or grinding wheel to shave off the high bits; that way, the bracket will be flush.
Once the brackets are installed, the fence section can be attached. Choosing the right brackets depends on the fence type, size, and placement. QuickShipAluminumFence is here to help you. Please don't hesitate to contact one of our friendly representatives if you have any questions. We are glad to help!
Contact Us